ENGR11a: Intro to 3D Printing
Introduction
This project introduced me to the fundamentals of CAD (Computer-Aided Design) and CAM (Computer-Aided Manufacturing) through hands-on experience with a Prusa MINI+ 3D printer and Prusa Slicer software. CAD allowed me to design and manipulate 3D models, while CAM provided the tools to translate these designs into machine-readable instructions for manufacturing. I began by configuring the slicer, downloading and preparing files like a custom nametag for printing, and successfully completing my first 3D print. These processes helped me understand the relationship between virtual designs and their physical counterparts.
To further explore the printer’s capabilities, I conducted a “torture test” using the well-known 3DBenchy model. This test helped me understand the limits and considerations of designing for 3D printing, including how geometry, tolerances, and material properties affect manufacturability. Additionally, I developed troubleshooting skills for both machine and file issues. To document my work, I created a website using open-source tools, reflecting on the process and showcasing my progress throughout the semester.
Nametag Configuration and Printing
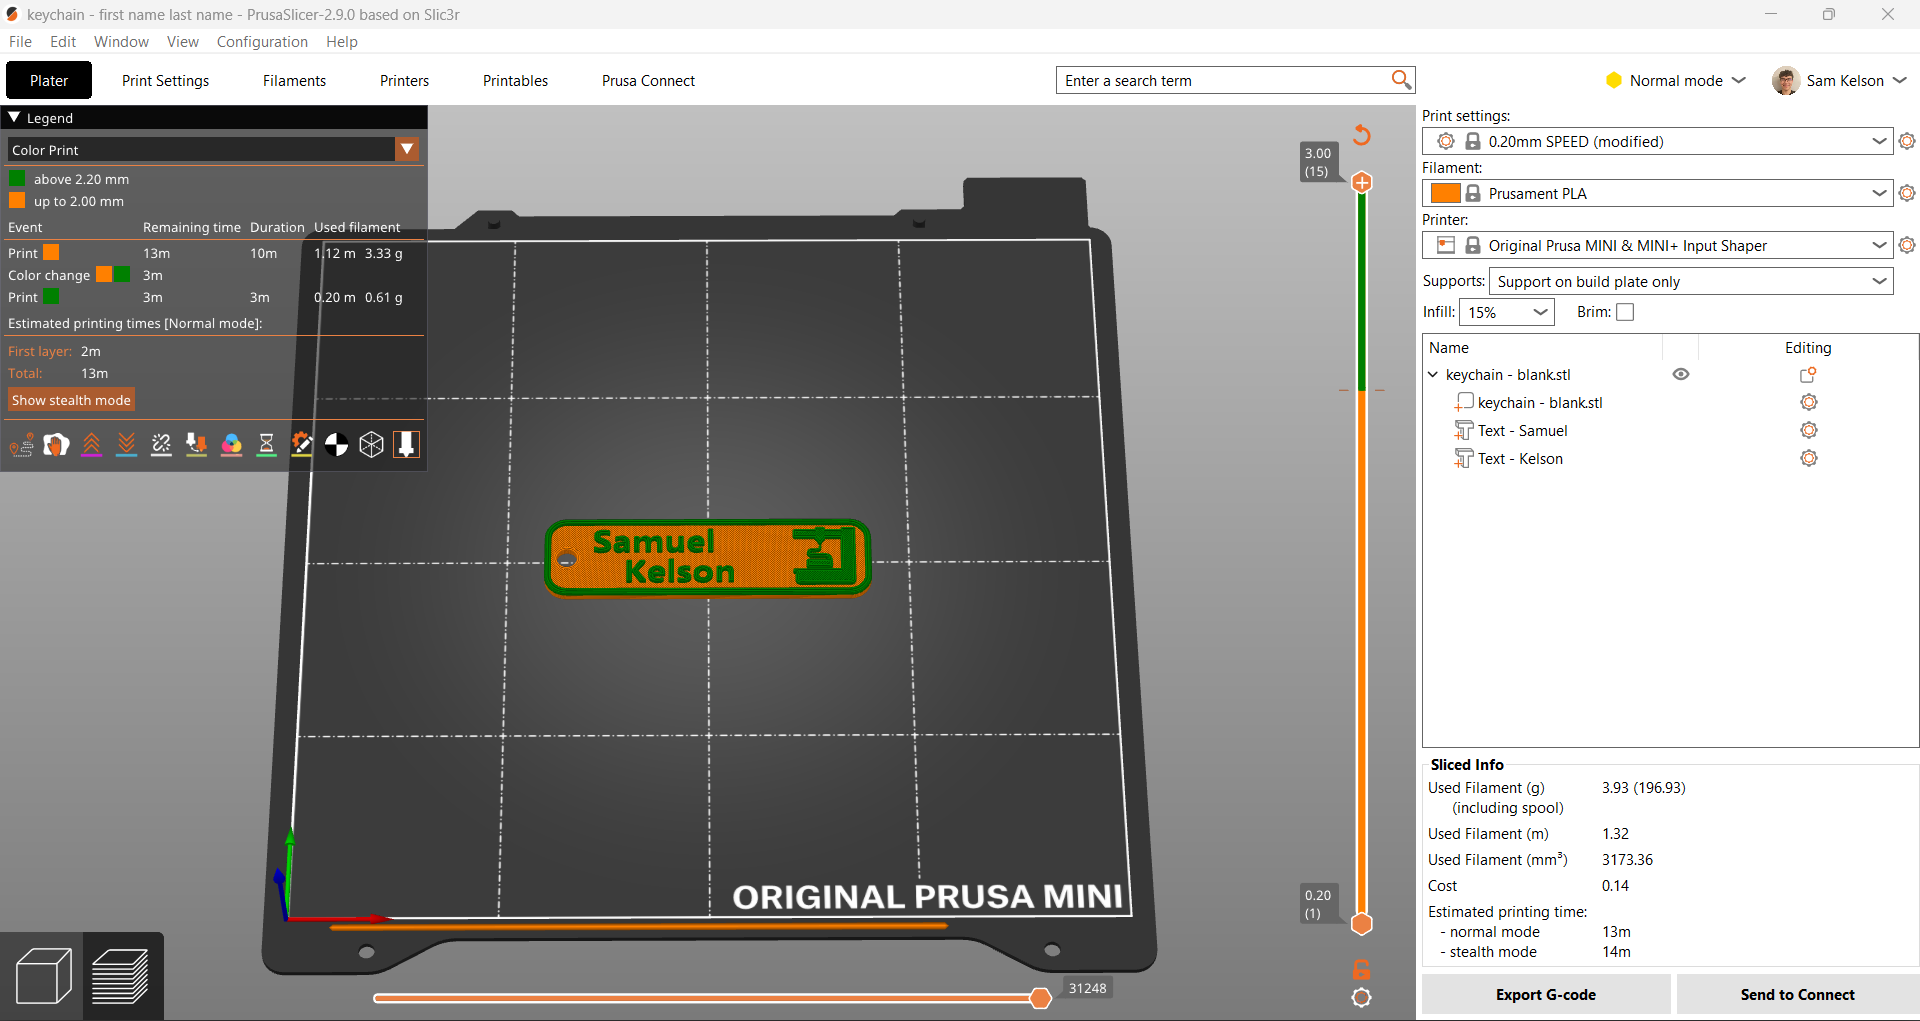
After downloading the slicer software and importing the custom nametag STL file, I added my name to the nametag template by simply double-clicking the text field and typing my name. My prior experience with 3D modeling software made this step straightforward. This process emphasized the CAD aspect of the workflow, as I directly modified a preexisting design to suit my needs.
Next, I moved into the CAM phase by configuring the printing settings. This involved importing the appropriate settings for the specific Prusa printer I was using, such as layer height, print speed, and infill density. These settings translated the CAD file into G-code, which controls the printer. See the image below for the settings I applied:
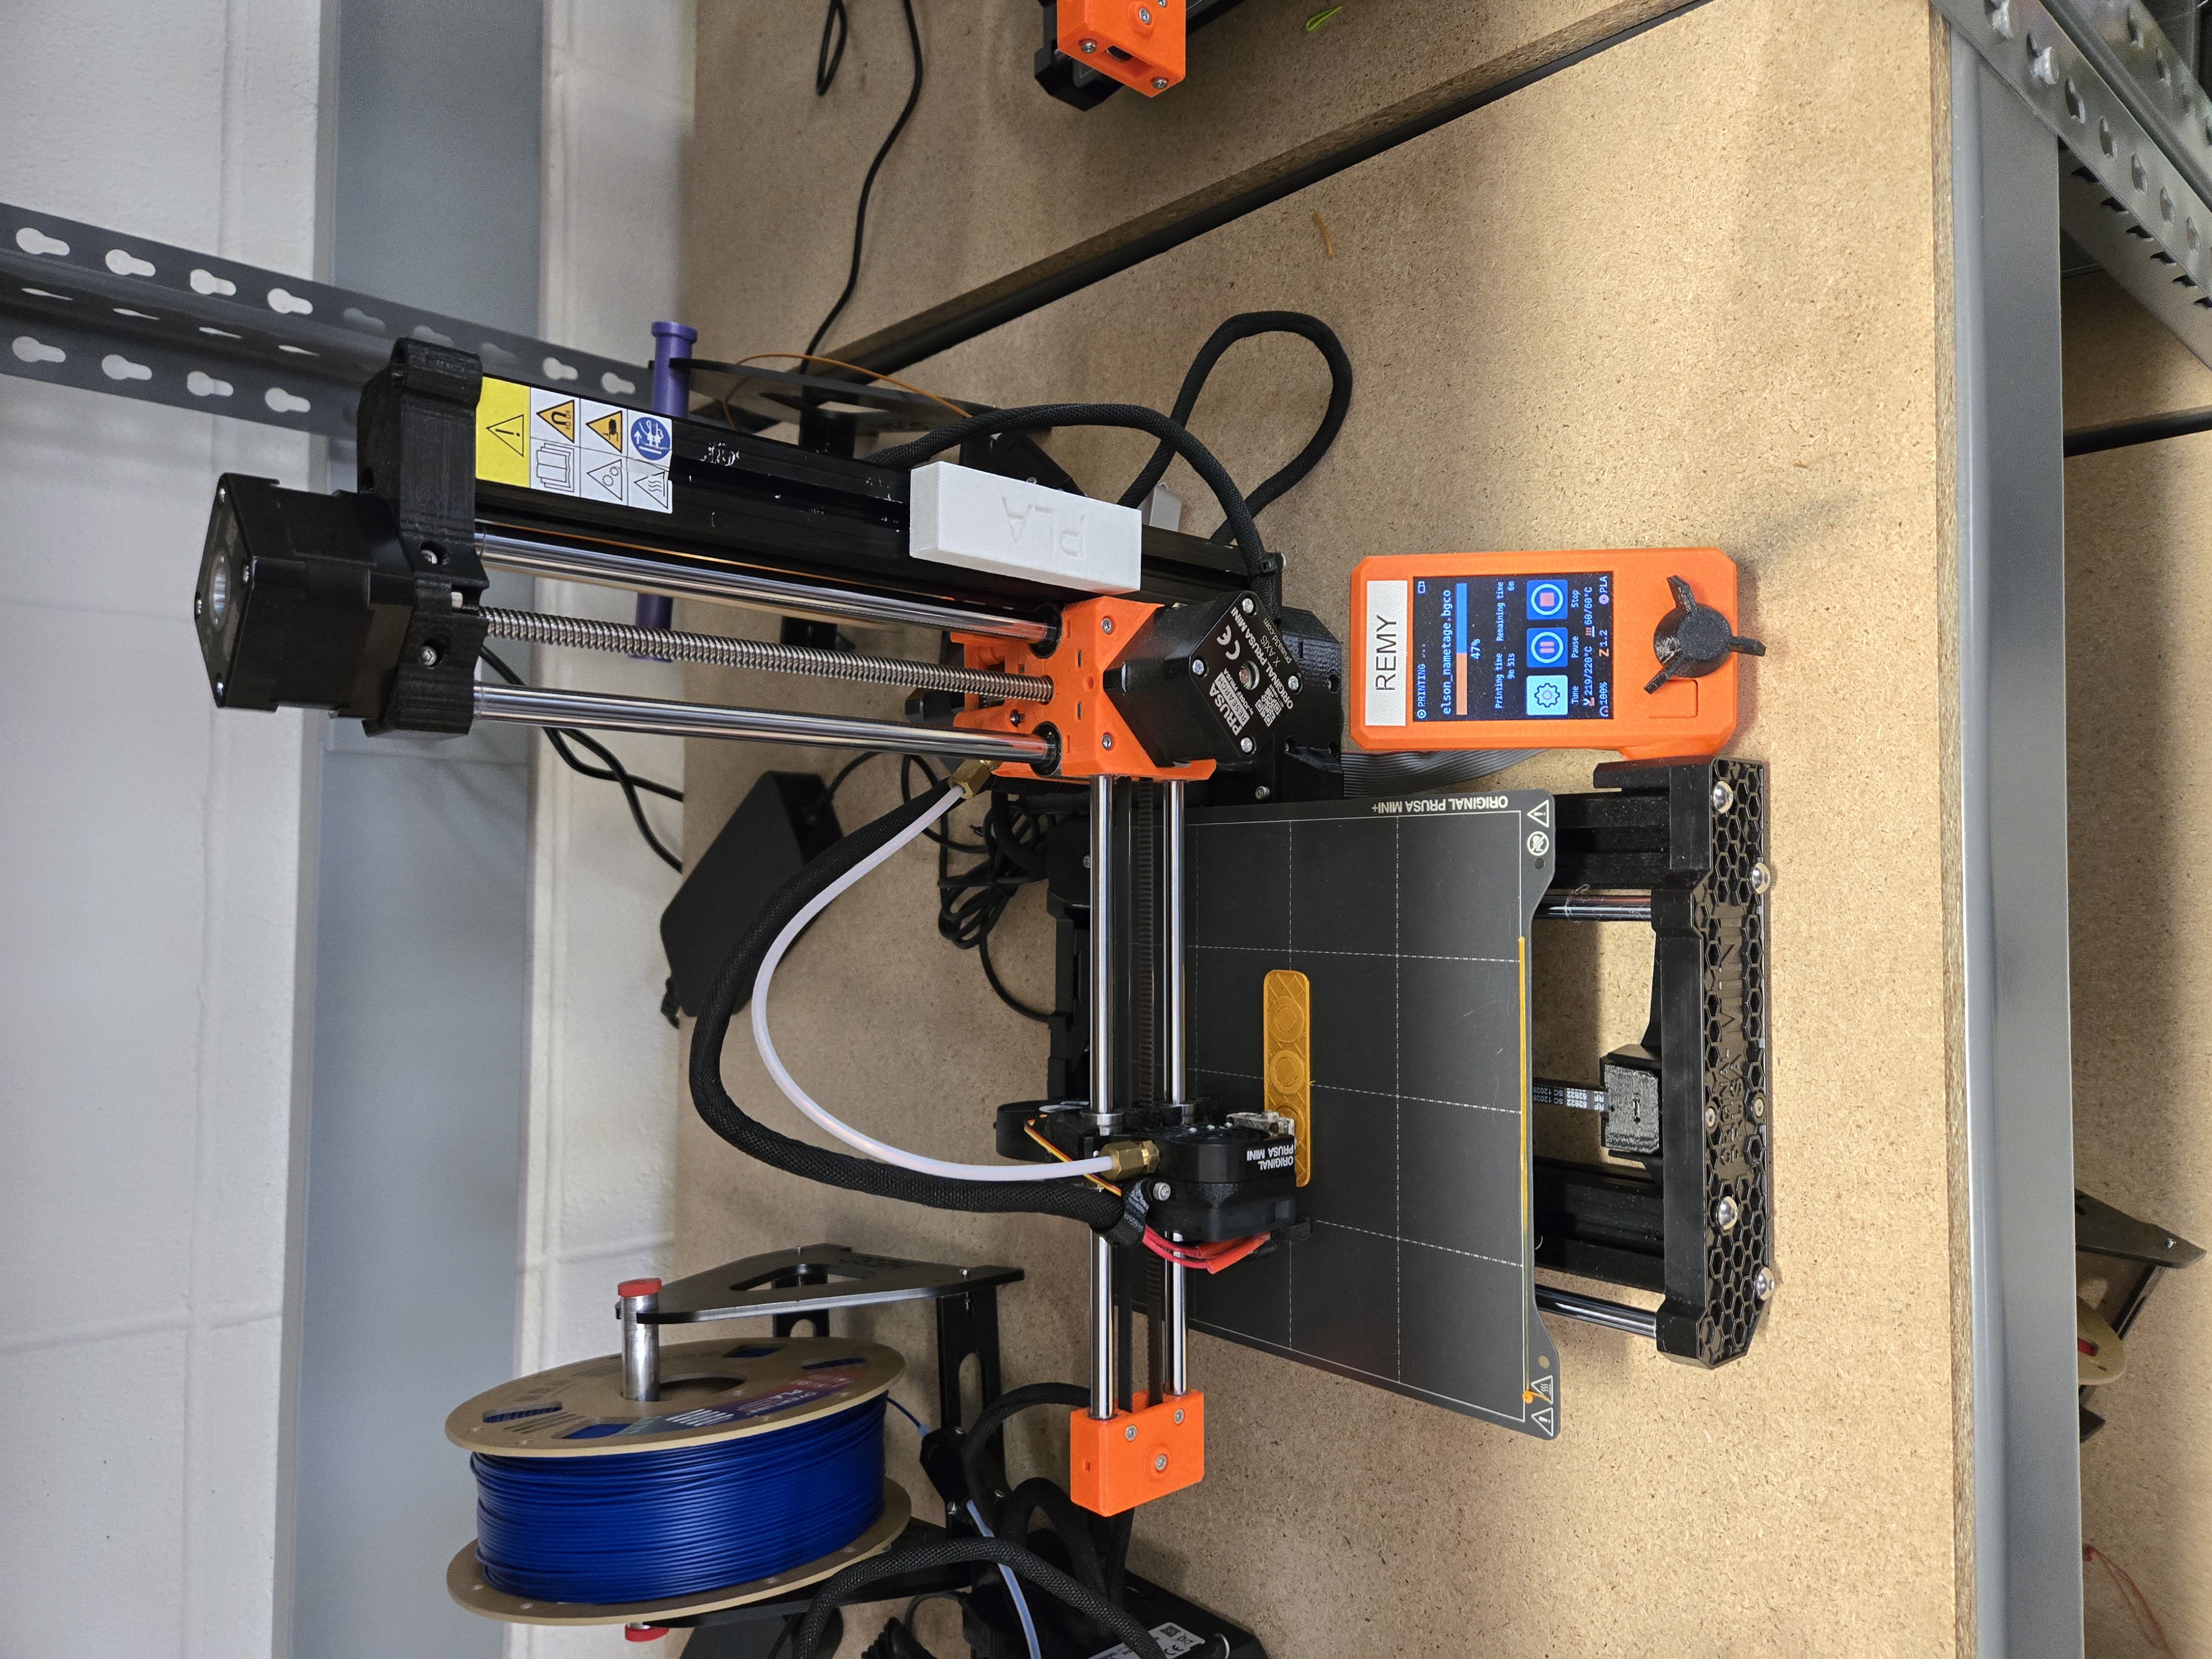
The next step was setting up the printer itself, which involved feeding the PLA filament into the printer. This process was initially challenging due to my unfamiliarity with the printer's controls. However, after several attempts to feed, heat, and clear the print head, I successfully loaded the filament in the correct color. The key was manually feeding the filament far enough for the print head wheels to grab it.
Finally, I sliced the 3D model, saved it to a flash drive, and began printing. This CAM step ensured the physical execution of my digital design.
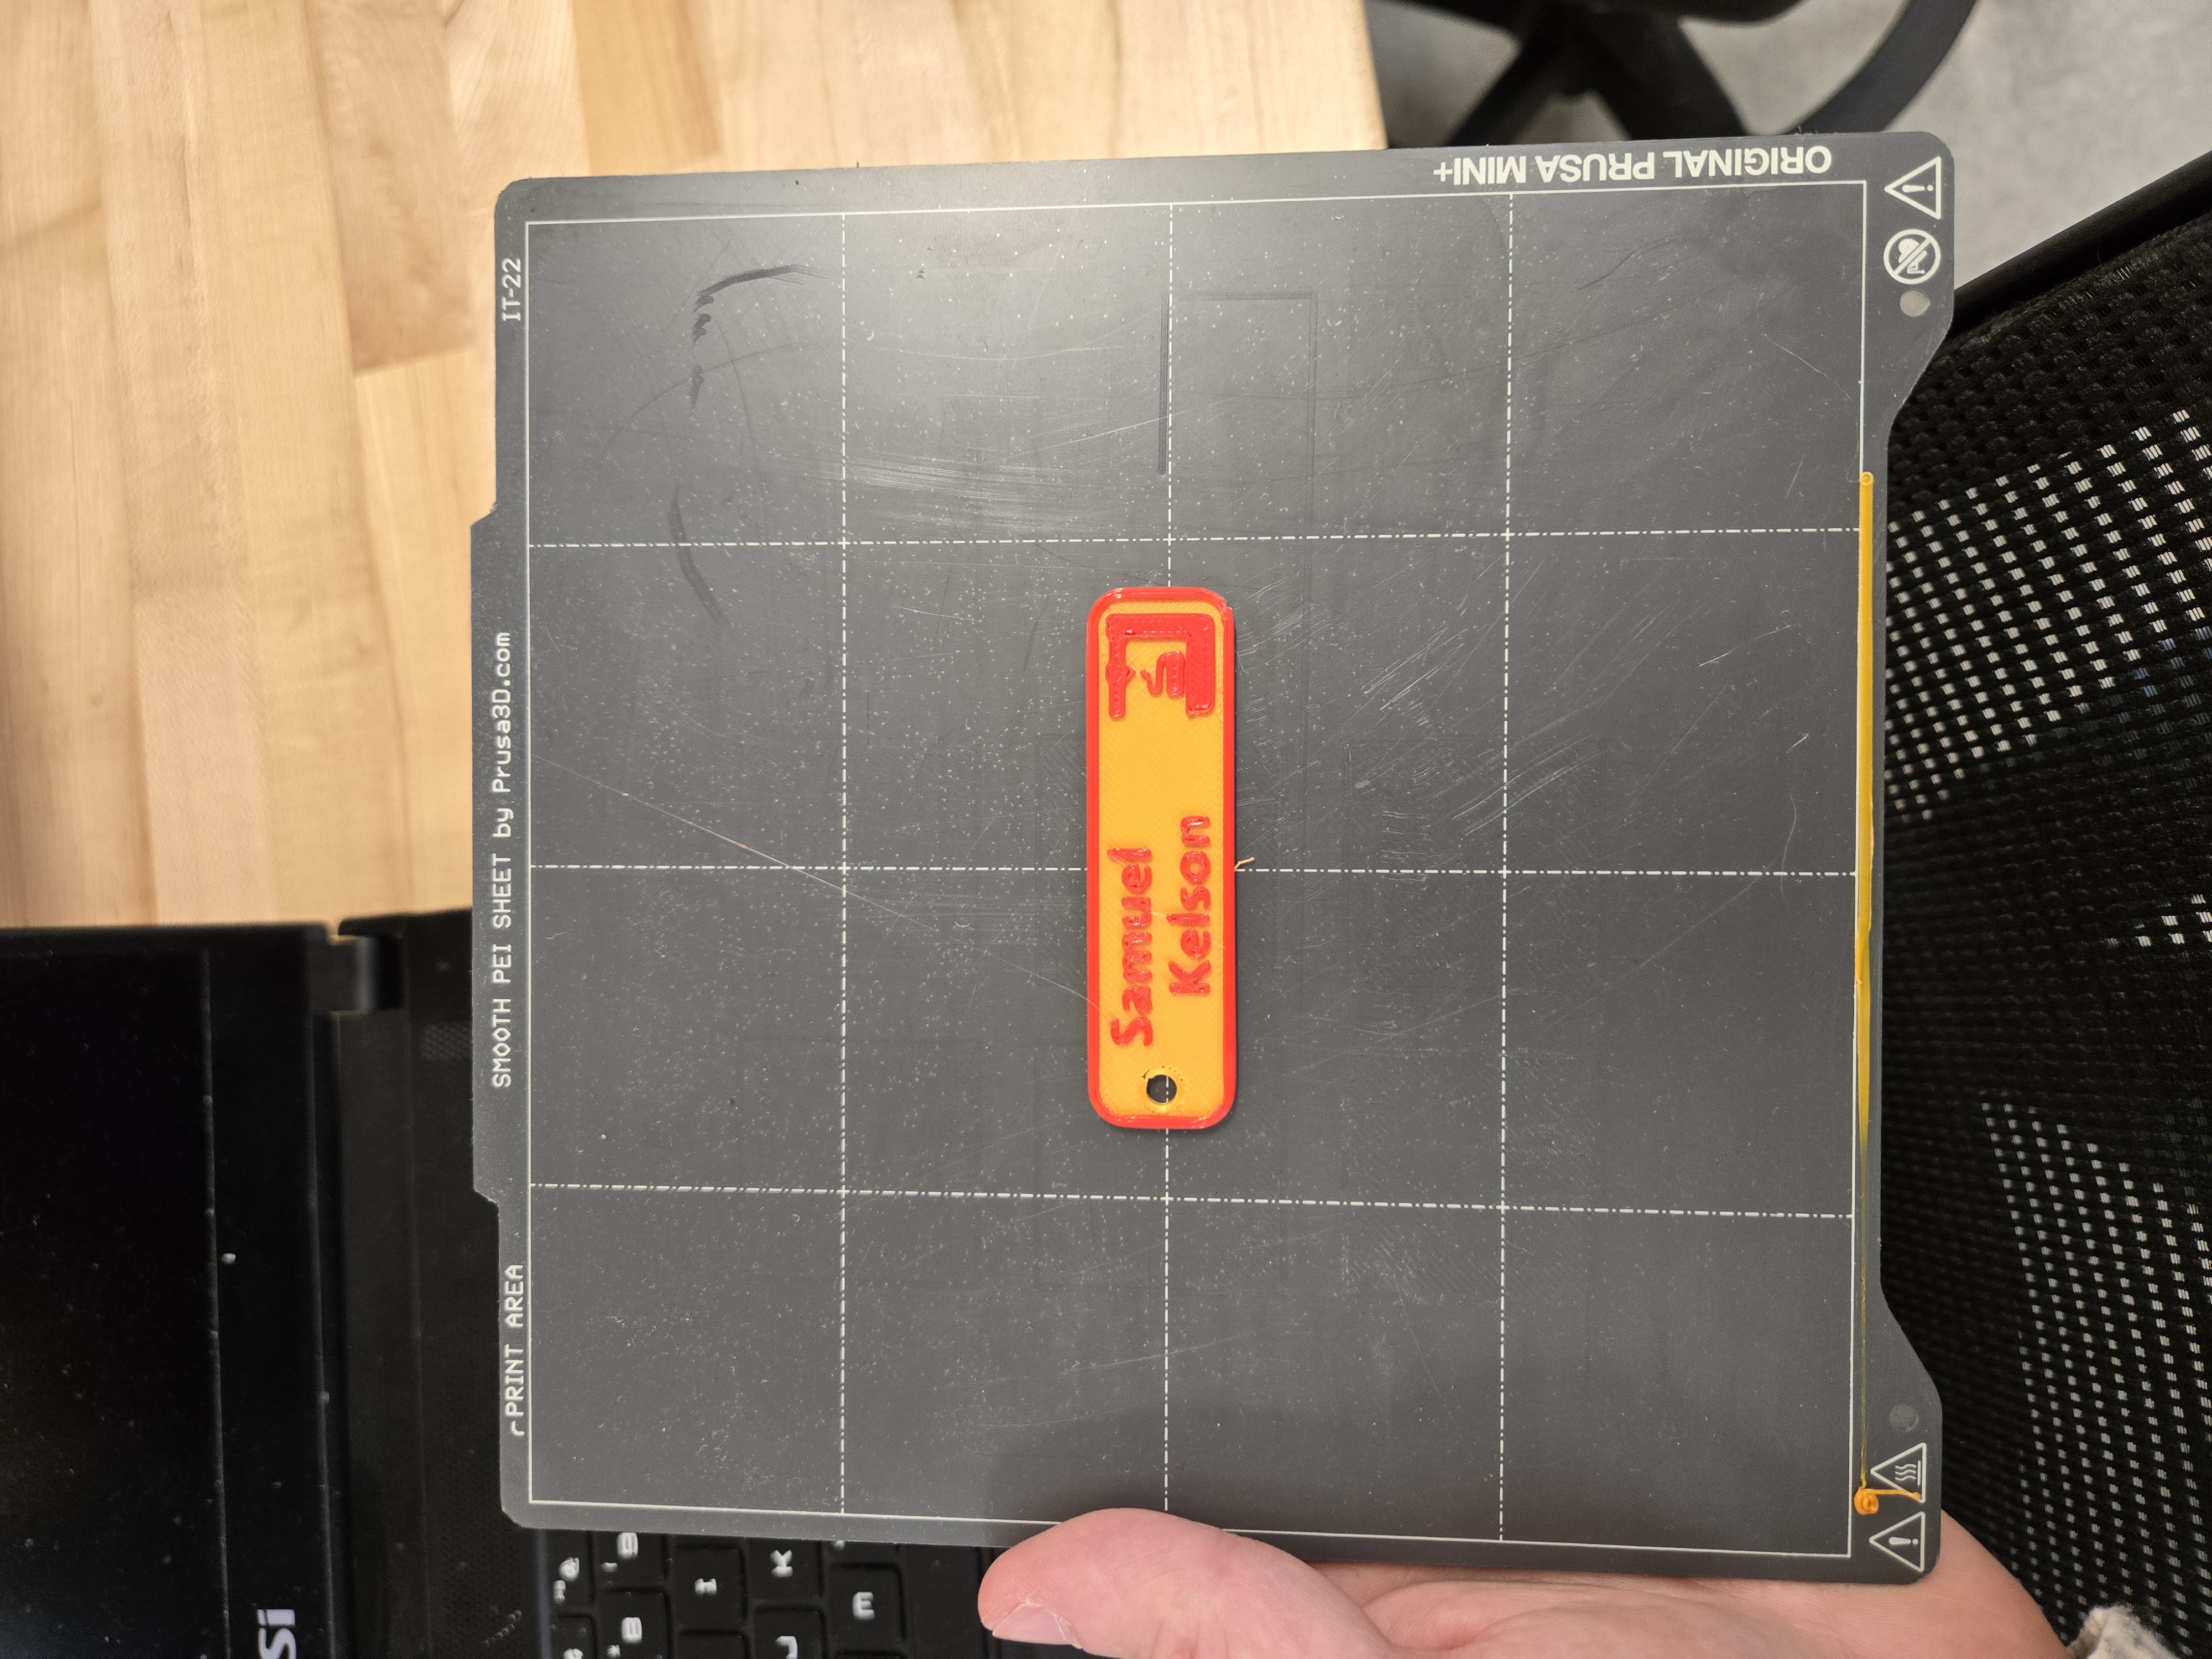
The print took about 15 minutes, including a filament change midway through. Here’s the finished product:
"Torture Test": Printing a 3DBenchy
After completing the nametag, I decided to push the printer’s limits by printing a 3DBenchy, a common 3D printing test model. This model includes numerous features (e.g., overhangs) designed to evaluate a printer’s performance. Using the same configuration as before, but with supports disabled, I printed the 3DBenchy. This project emphasized the importance of understanding the interplay between CAD and CAM, as even a well-designed model could encounter issues if the manufacturing parameters are not optimized.
The process went smoothly, and after about 50 minutes, here are the results:
After analyzing the 3DBenchy, I observed the following:
- The letters on the stern of the boat were not visible, indicating the printer's resolution must be finer than 0.1 mm to capture such details.
- Some stringing occurred in the overhang sections, likely due to filament temperature variations during head movement.
- The first layer details were faint, suggesting slight squashing of the first layer.
Printing Conclusion
These projects demonstrated that even complex and unconventional designs can be successfully 3D printed when CAD and CAM principles are effectively combined. I realized that features such as overhangs, curved structures, and hollow geometries—initially thought to be impractical—can be achieved with proper techniques. For future projects, I plan to use support structures to ensure successful printing of these features. Additionally, adjusting the orientation of prints to minimize overhangs and align with gravity could significantly enhance results.
This assignment also highlighted the differences between 3MF and STL files. Unlike STL files, which only store surface geometry, 3MF files include additional details like color and material information. This was particularly useful in the nametag project, where the printer paused during color changes, allowing seamless filament swaps. STL files, lacking this capability, would not support such adjustments.
Through these experiences, I gained a deeper appreciation for the integration of CAD design and CAM processes in creating functional and visually appealing products. I look forward to further exploring 3D printing throughout the semester and integrating printed components with other manufacturing methods.
Website Development
One of the most enjoyable aspects of this project was creating the website. I had been meaning to build a personal website for some time, as I believe it will be valuable in my career in both academia and industry. Despite friends warning me I was taking on too much, I dedicated significant effort to this task. With prior web development experience, I decided to forgo Jekyll (the static website generator used by GitHub Pages) and opted for Eleventy instead. Eleventy offers more features, better future-proofing, and greater automation opportunities.
My goal was to configure the styling once and avoid writing HTML or CSS again. While the process was more challenging than anticipated, I’m pleased with the outcome. Now, I can create new project pages by simply writing in Markdown—a more user-friendly and future-proof format—and everything will be automatically formatted.
Overall, this experience was both rewarding and instructive. I hope the website proves useful beyond this class. Eventually, I plan to integrate my CV into the site and make it easy to update directly from the platform.